Personalised Christmas Cards 2017

Sunday, 30 August 2015

Butterflies and Boxframes


Hope you are all enjoying the holiday weekend, I have been playing with a variety of things, a few box frame pictures and some Tim Holtz stamping and die cutting.  I am still trying to sort out my craft room but it is a slow process, too many weekends away and a three week holiday coming up seems to be hindering me.

Here are a few box frames I did yesterday, inspired by a lady who is making a framed picture for charity (Macmillan Cancer Care).  I have dozens of 6 x 6 paper pads and used some of the pink/cream papers for my butterflies and backing for the "Think Pink"picture, clean and simple with just one pearl on each butterfly.  The frame was coloured with a thin coating of picket fence distress paint and stamped in sepia on the corners with the script stamp from Stampers Anonymous "Papillion" set.  The second frame was backed with papermilldirect card which I embossed and the butterflies cut from some blue/green papers, I am still thinking of how to embellish this one.


As my husband wanted to keep his last tax disc I framed this too so it didn't get lost or damaged .  I used a Spellbinders embossing folder, distress inks and a little treasure gold to give some sparkle.


More distress inks and Tim Holts stamps and dies were used to create this Autumn leaf, not sure what to do with it yet, maybe a set of seasons pictures, Spring, Summer, Autumn and Winter.


Today I started to think of Christmas cards, this is a clean and simple quick card using an image from Pinkpetticoat printed onto papermilldirect white linen card,  I will colour the snowman later today.  Lots more ideas running through my head, I have the stamps out and ready to roll.


Not a good day for photographs today but I wanted to post the picture frames, nice gentle crafting which I enjoyed doing.  Hope to get some crafting done while I am away, I need to get those Christmas cards done!


Wednesday, 15 July 2015

Brushos, Tissue And Getting Messy


A quick post today with a few creations using the brusho patterned card I made last Friday.  I made a a few more backgrounds, as well as a small canvass, at the Easter Compton (Bristol) craft workshop held by Barbara Daines on Saturday.  We played with brushos and also made some backgrounds using the bleeding tissue technique.


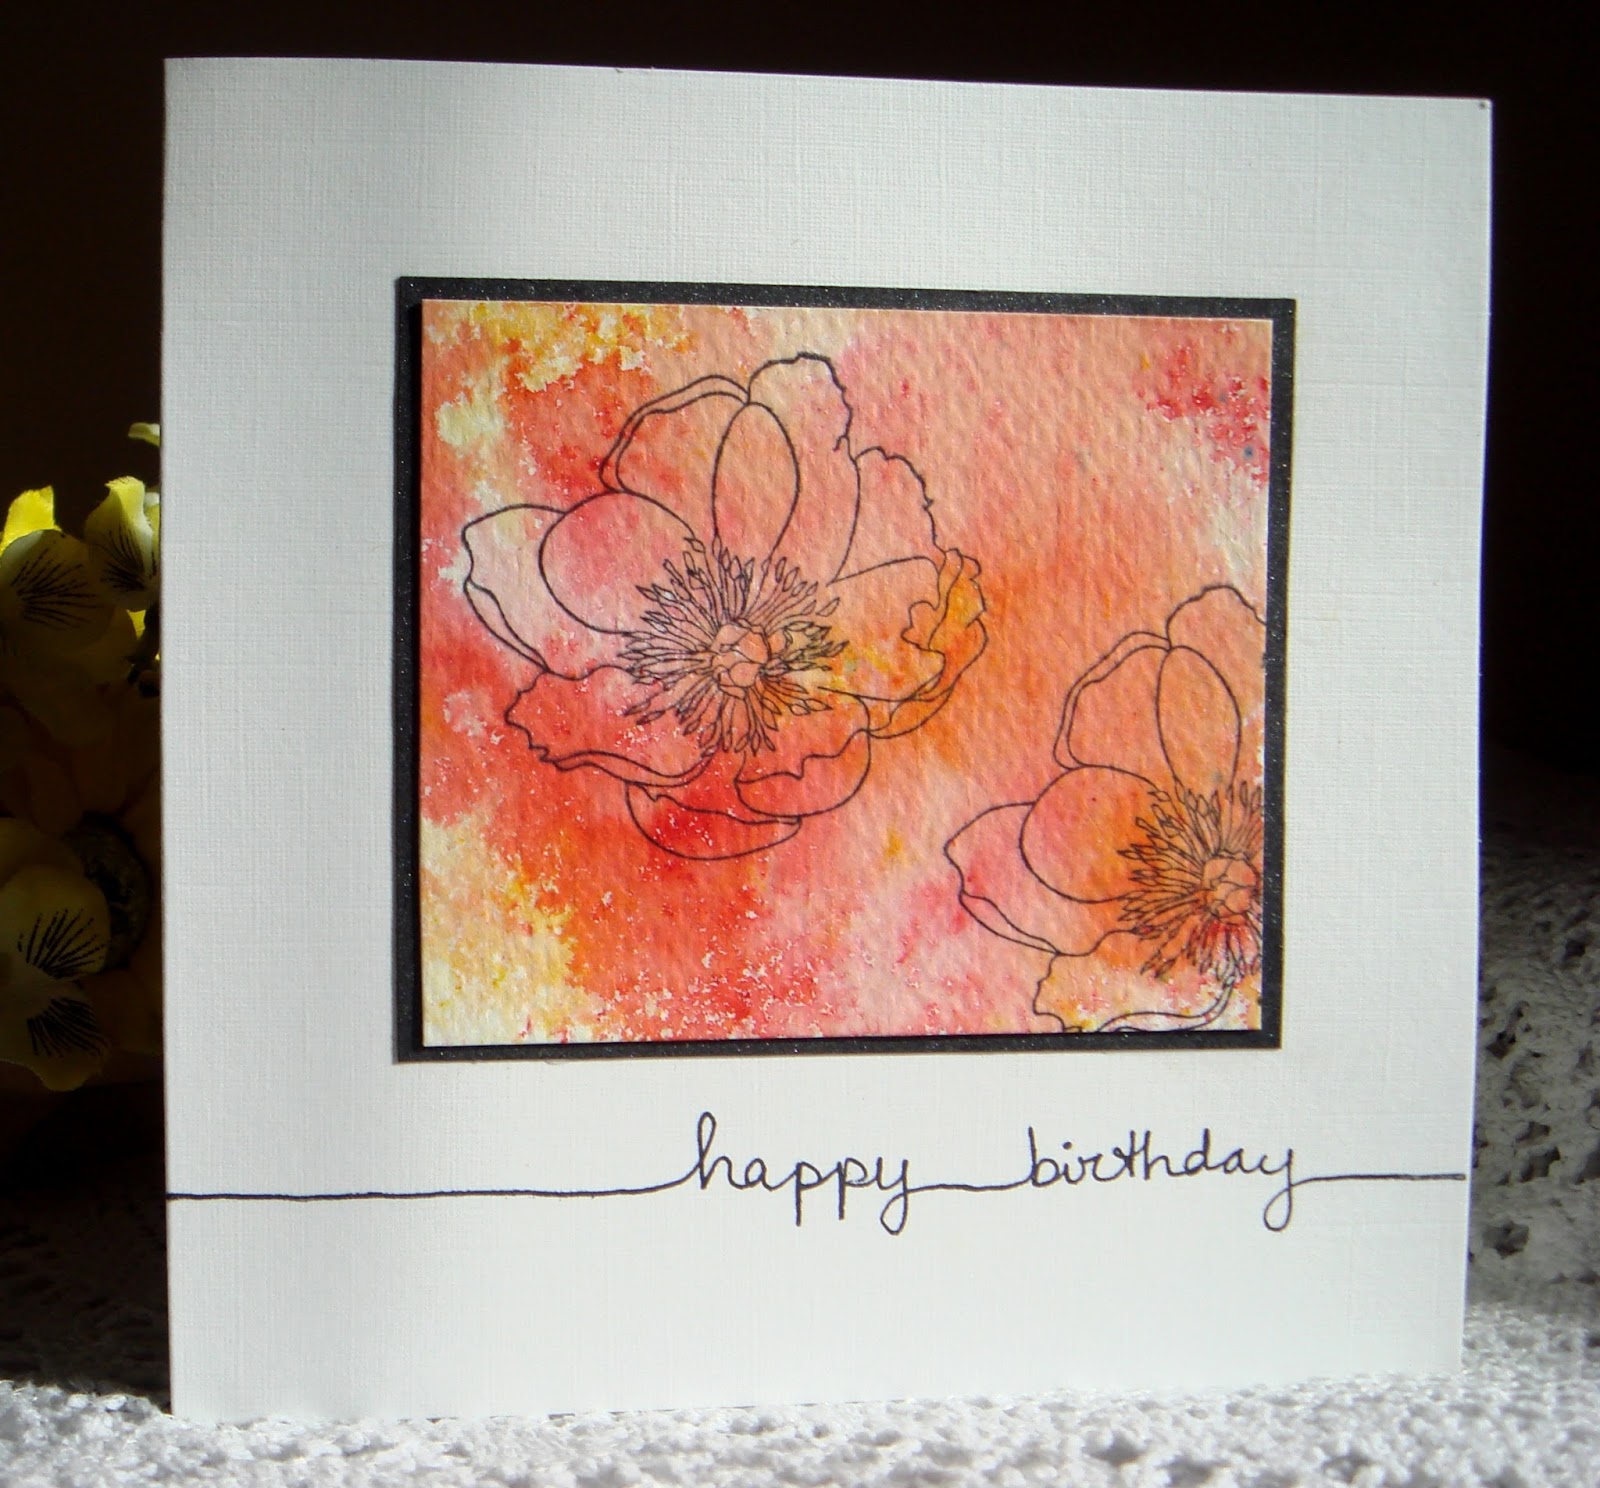
 I used a variety of card with the brushos, these backgrounds were on watercolour card, the stamps are Stampers Anonymous "Flower Garden" stamp set and Darkroom Door "String Sentiments".   The images were mounted on black card before adding to my card blanks - white linen and white hammer from papermilldirect.

  
These two cards were made with brusho backgrounds made at the workshop, Stampers Anonymous "Papillion" and Inkylicious "picture Perfect" stamp sets.
 

Two blue and green backgrounds on linen cardstock and last of all some work in progress.  I will be away until next Tuesday visiting family so they will have to wait until I get back.


Back again soon with some cards made with the Silhouette, and the rest of the work in progress.

Thursday, 9 July 2015

Back In The Swing Of Things Again


Hello everyone, I am back after what seems an age and managing to get some happy crafting done.  Normality has returned to our household, Peter is recovering well and my stress levels have dropped considerably,  this week I have been able to get into my craft room (which has had to be turned into a bedroom again - long story!) and get to my crafting stash.

Spent a few hours getting messy with Brusho Paints today and hope to get something made tomorrow when my card is dry.


This is my favourite piece, Oak House Studio pearly silver ink spray and brusho paints on scrunched cling film.


Also managed a couple of cards using the tissue paper technique.   Heart shaped tissue shapes, Visible Image stamp and papermilldirect card.  The images didn't stamp as I would have liked as my ink pads have decided to dry out because they have been neglected for so long, or could have been my impatience in letting the tissue image dry!.
 

Out came the Silhouette cutting machine too but the cut outs need to be put together, watch out for another blog post from me soon.